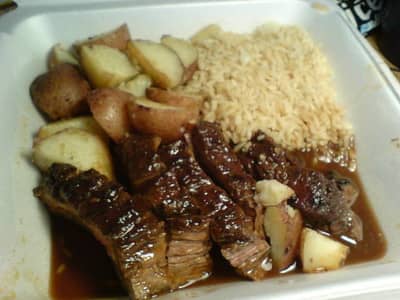
Air Fryer London Broil
Ingredients
- London Broil steak (top round or flank steak)
- olive oil (for brushing)
- salt, for seasoning
- pepper, for seasoning
- optional: your choice of the marinade (e.g., soy sauce, Worcestershire sauce, garlic, herbs, or spices) for added flavor
Instructions
Preparation Steps
- Start by taking the London Broil out of the refrigerator and allowing it to come to room temperature for about 30 minutes. This helps the meat cook more evenly.
- While the meat is resting, preheat your air fryer to the desired temperature, typically around 400°F (200°C).
- Pat the London Broil dry with paper towels to remove excess moisture, which helps achieve a better sear in the air fryer.
- Brush the meat with a light coat of olive oil to promote browning and prevent sticking to the air fryer basket.
Air Fryer Cooking Steps
- After preheated, place the London Broil steak in the air fryer basket. Ensure there is enough space around it for proper air circulation. Overcrowding also causes steam which can stop the searing process.
- Cook the steak for approximately 8-10 minutes on one side for medium-rare. Then, flip the steak and cook for an additional 8-10 minutes on the other side. Adjust the cooking time based on your desired level of doneness and the thickness of the steak.
- Use a meat thermometer to check the internal temperature. For medium-rare, the temperature should be around 130-135°F (54-57°C), but you can adjust it according to your preference (see the temperature guide in the article).
- Once the steak reaches the desired temperature, remove it from the air fryer and let it rest for a few minutes before slicing.
Notes
Optional Ingredients for Added Flavor:
- Minced garlic
- Fresh herbs (such as rosemary or thyme)
- Red pepper flakes for heat
- Balsamic vinegar for a tangy twist
- Citrus zest (e.g., lemon or orange) for a refreshing note
Tried this recipe?Let us know how it was!