Photo from Lukas licensed under Pexels License
Are you dabbling in food photography or starting your own food blog? At some point, you’ll need to learn how to photograph steak to make it look its absolute best on camera. It’s not tough to do when you buy your steak from quality sources, like Chicago Steak Company, but there are still a few tricks that’ll help you get the perfect shot every time.
Taking Raw Steak Photos
We’re going to break down this guide into two main parts: Photographing raw steak and photographing cooked steak. Believe it or not, you won’t use the same methods for both.
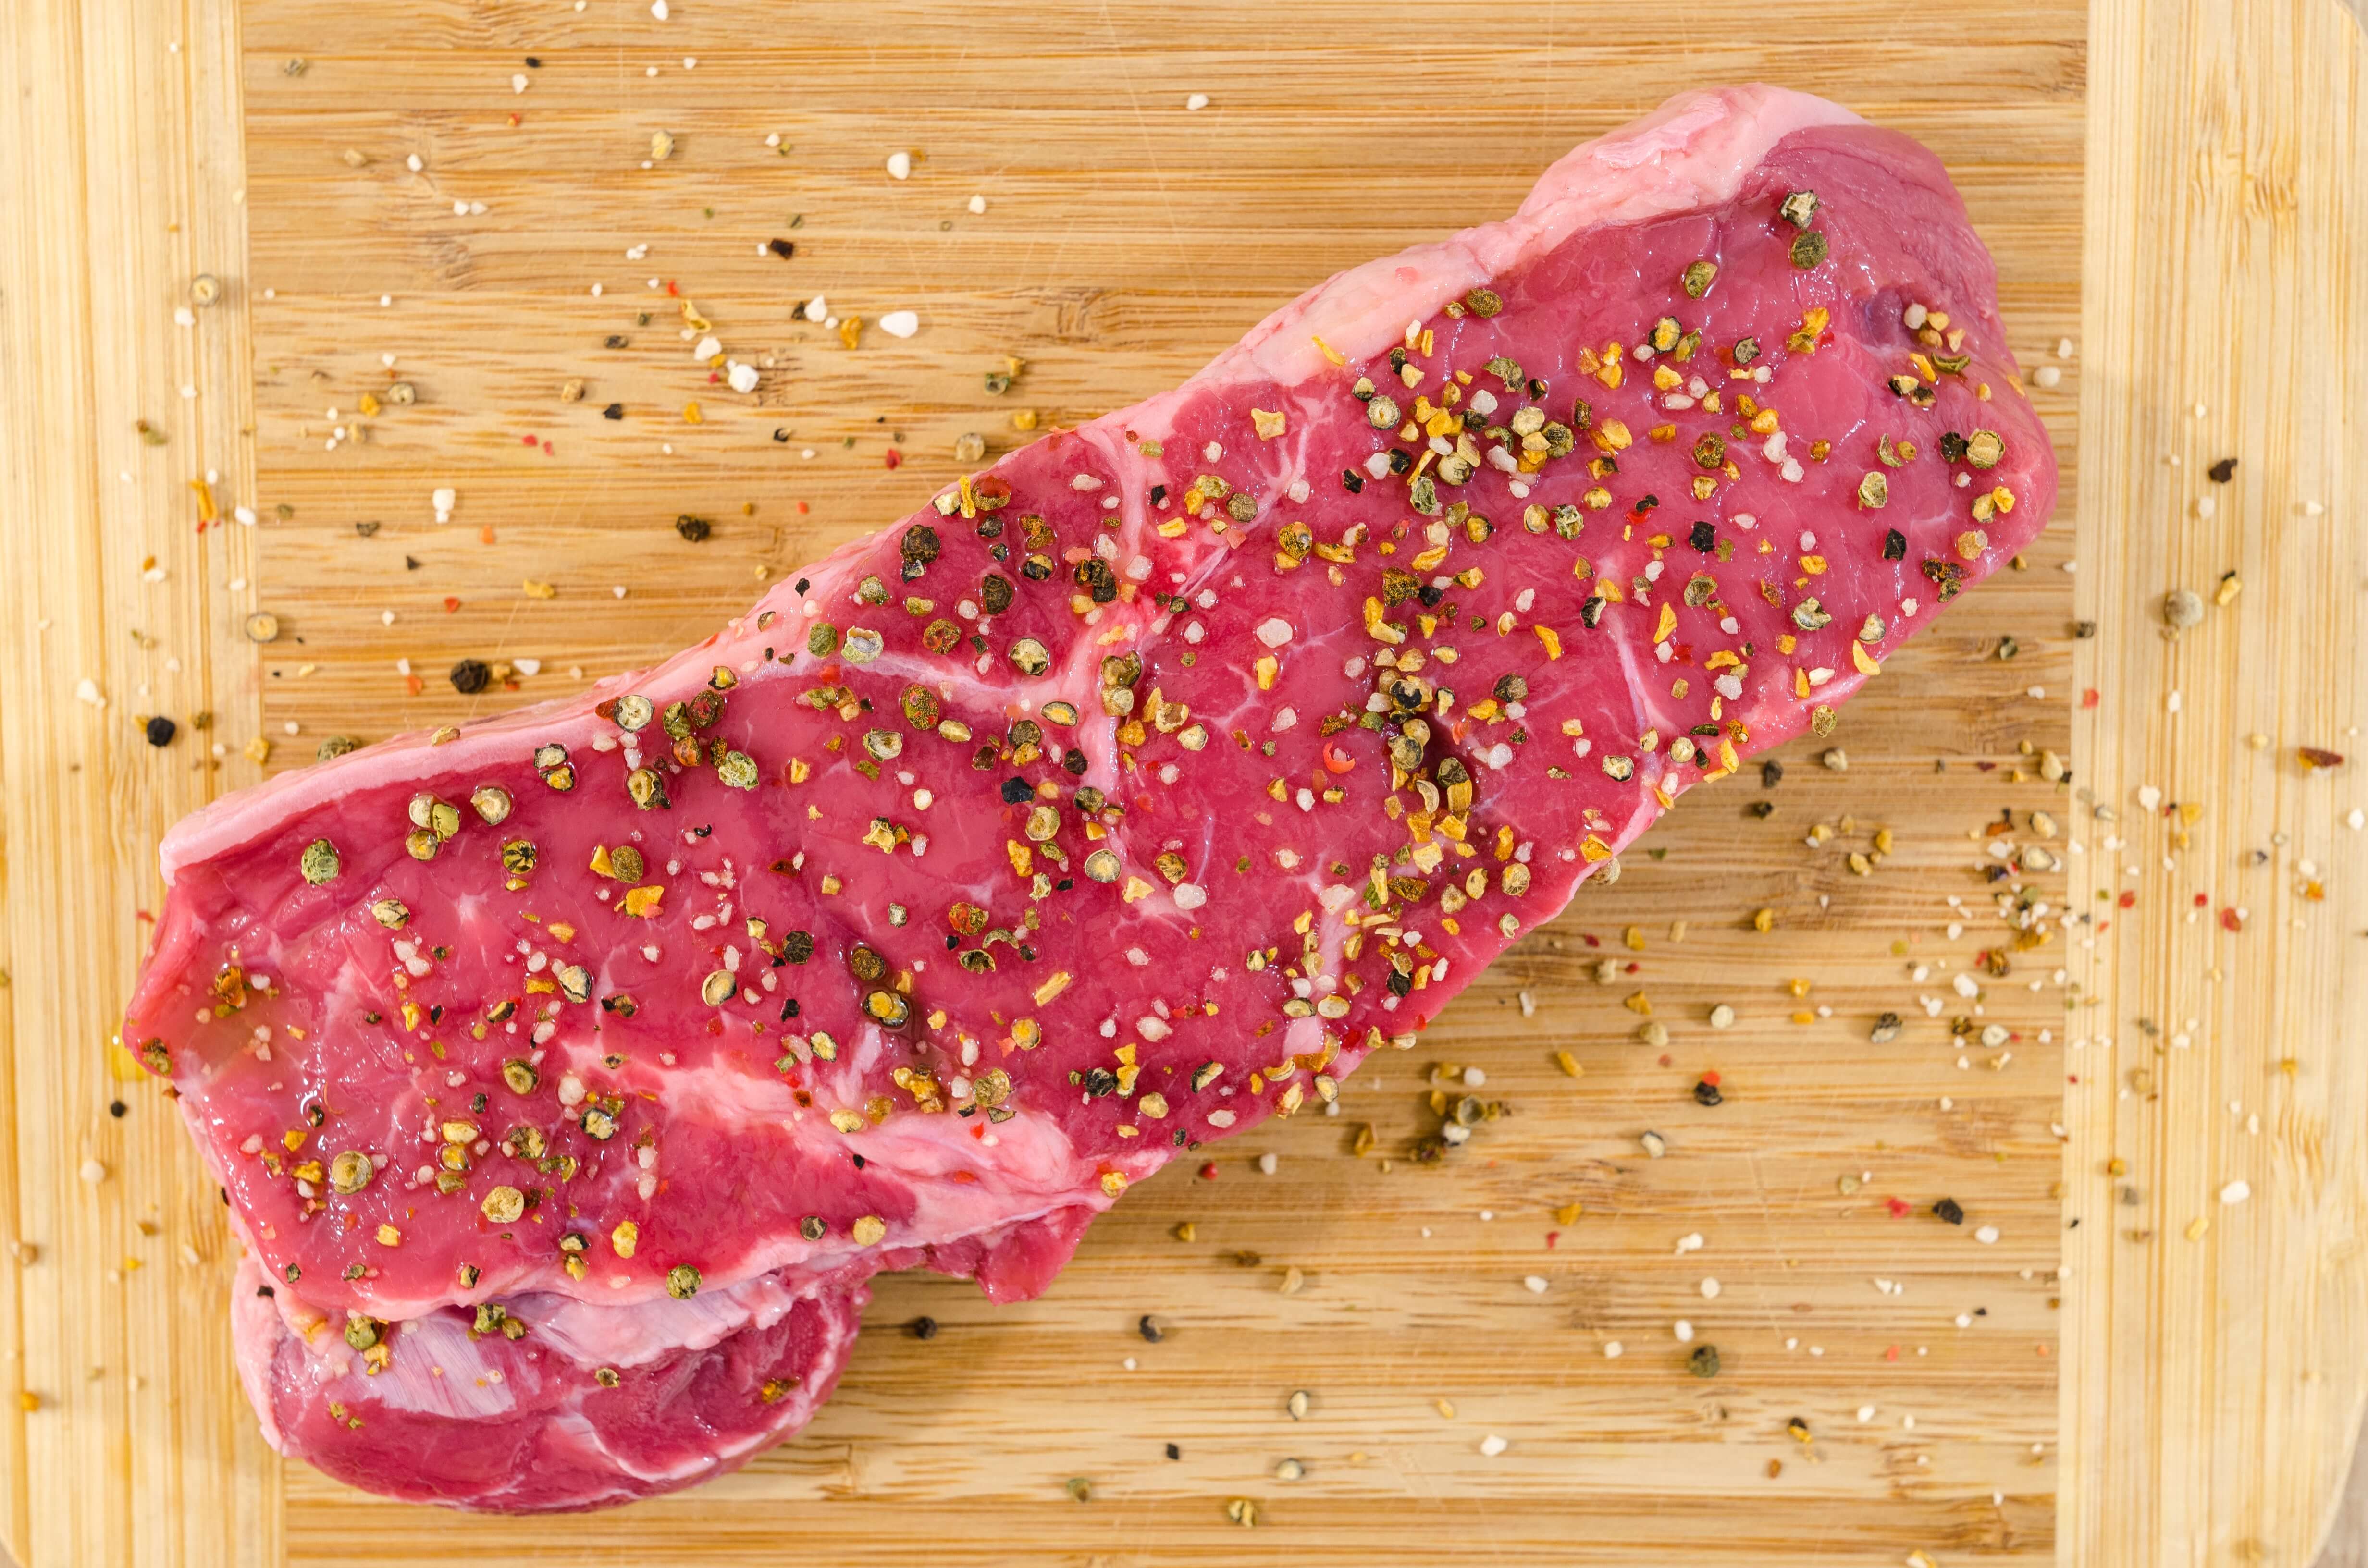
Raw steak is more difficult to cover up in a photo if it has flaws. Steak that’s too fatty or discolored will show all its imperfections regardless of the natural light you’re using or that high-tech camera you just bought. Face it: Raw steak isn’t that appealing on its own, so you’ll need some creativity to juice it up a bit for your camera.
Pick and Choose
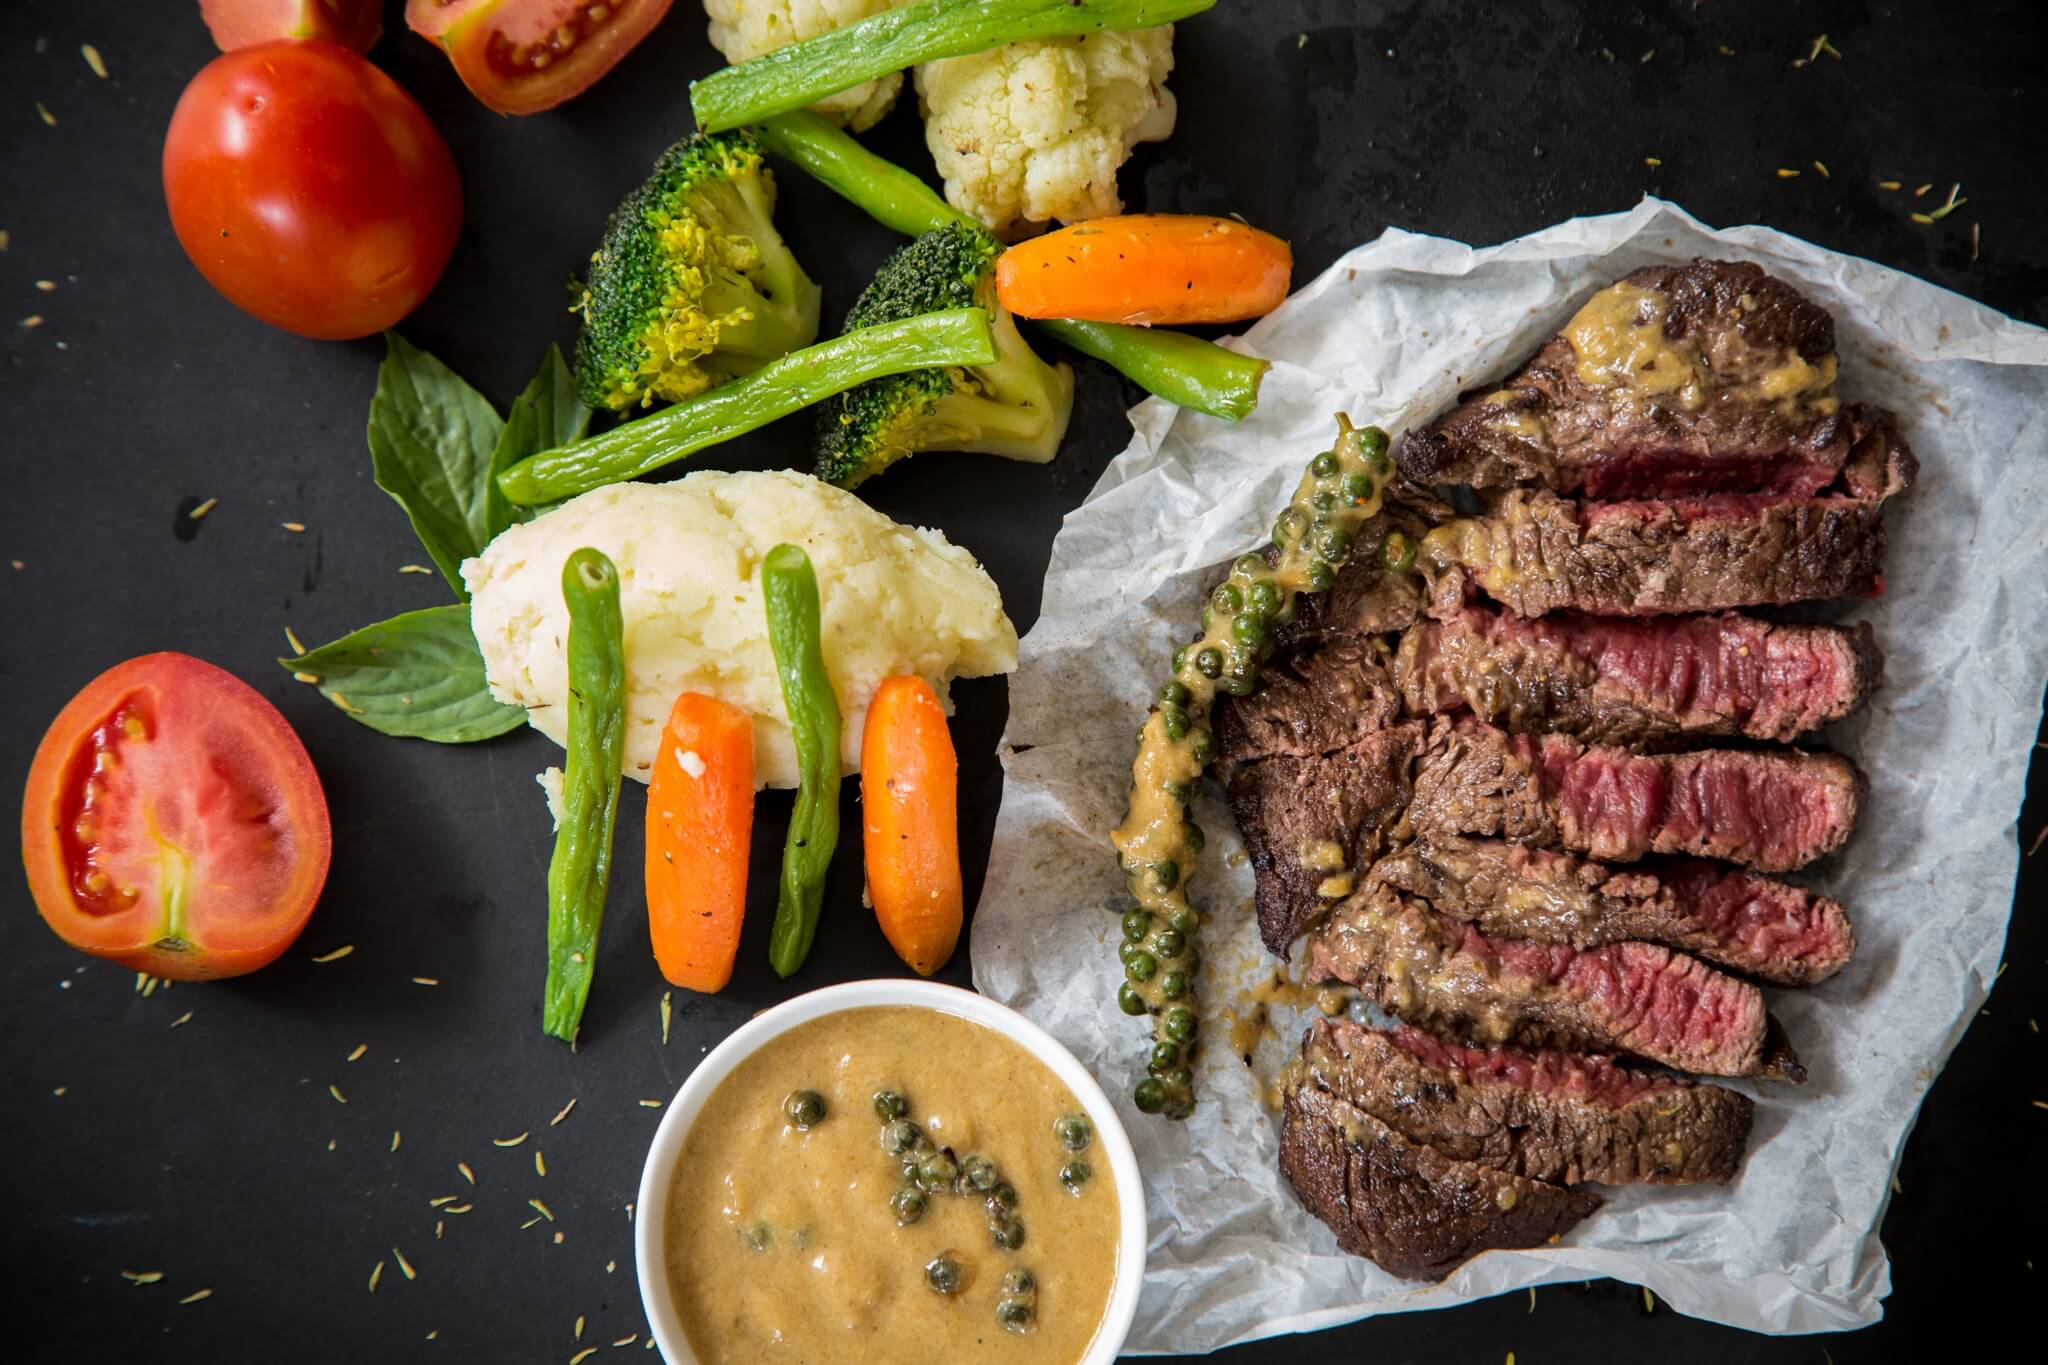
Photo by Malidate Van licensed under Pexels License
First, you’ll need to pick only the best, most attractive pieces of steak in your arsenal for your photograph. When it comes to raw steak, you’ll want that deep red color that pops on camera, with beautiful marbling run throughout. A cut like Premium Angus Ribeye was made to be a star, but if you need a specific cut of meat that isn’t so pretty on its own, you’ll need to compare what you have, take a few test shots, and pick the winner from the bunch.
Coloring
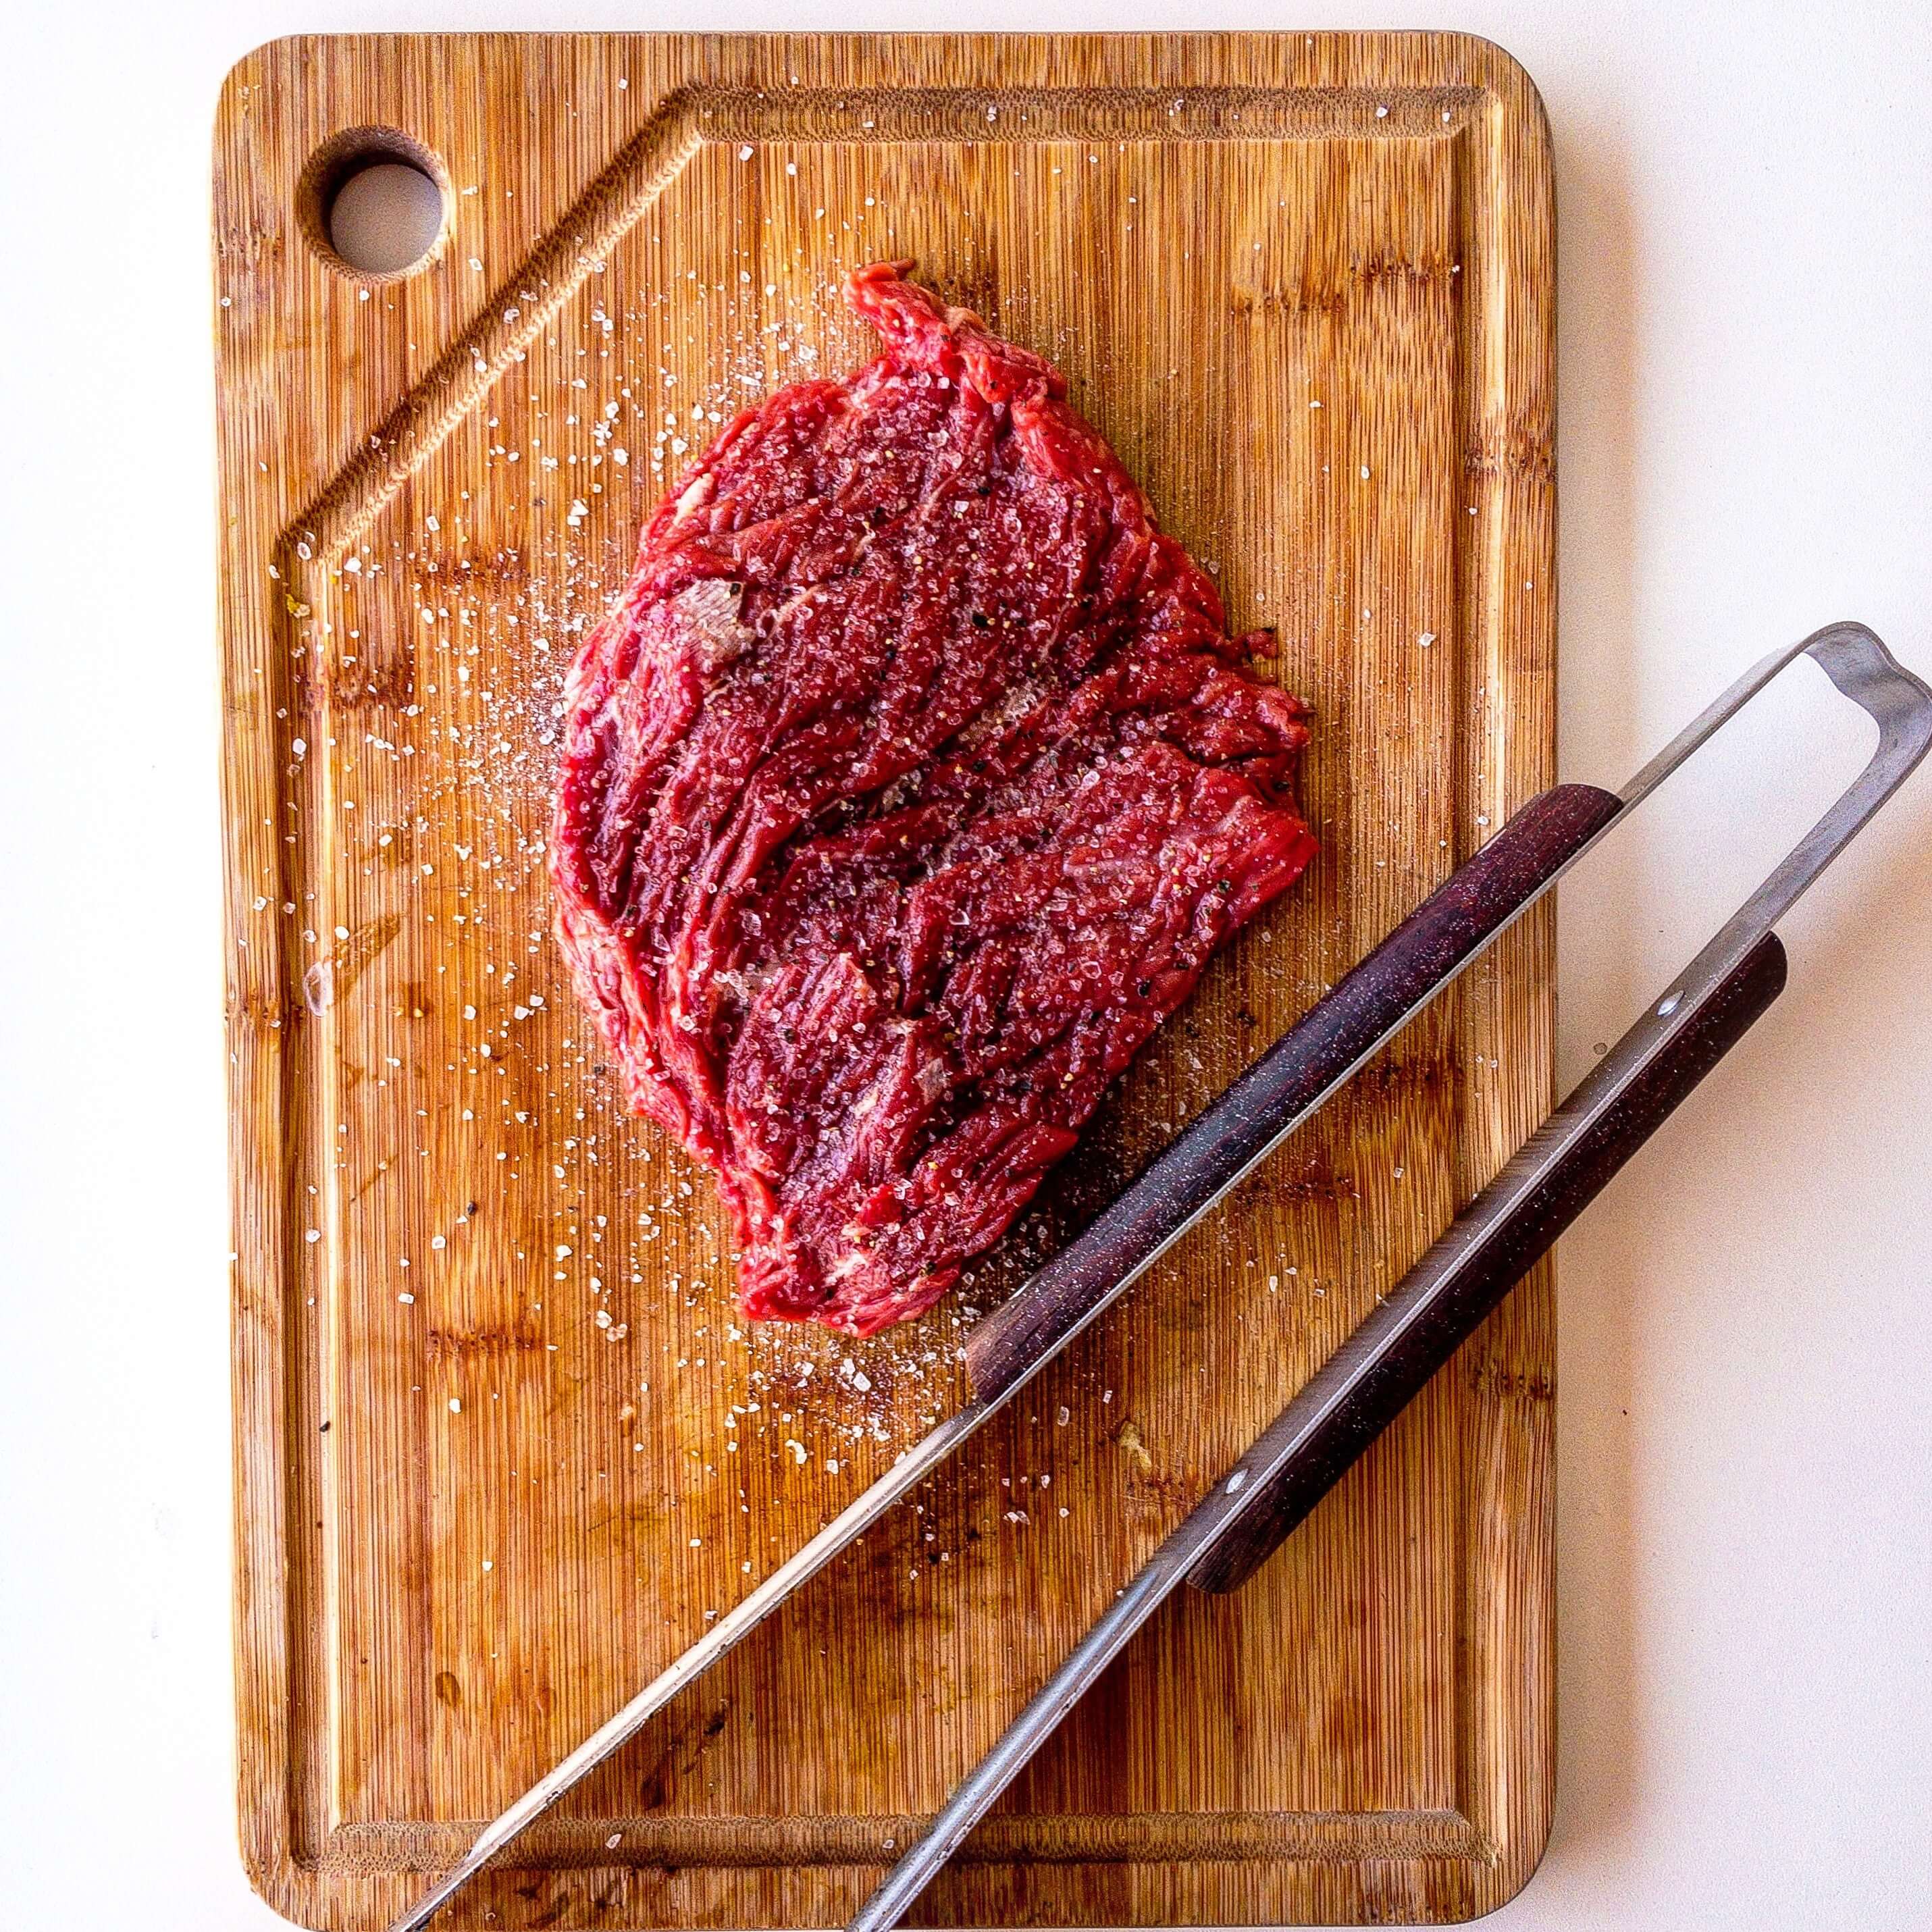
Photo by Fábio Bueno licensed under Pexels License
Raw steak is usually dark in color, so you’ll want to keep that in mind when setting up your background and supporting elements of the photo. Raw steaks tend to look best against light to medium backgrounds, but this will also depend on how good your lighting is. A little bit of natural light is usually all you need to help bring out the bold coloring in steaks.
Trim the Fat and Make It Eye-Catching
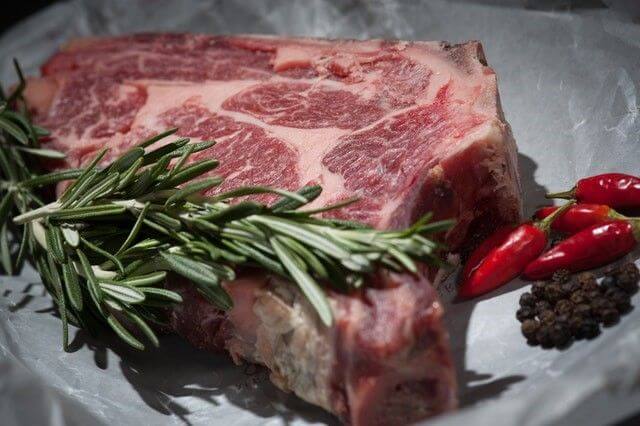
Photo by Mali Maeder licensed under Pexels License
Fat is beautiful on steak when it’s weaved intricately through the meat, but it’s not so appealing when it hangs in blobs from the steak’s body. Trim off any excess fat (remember not to go overboard – you’ll want some of that juicy fat when you cook it!).
If there are some fat and discoloration on your pieces of meat, then get creative in how you display them. You might stack a couple of cuts on top of one another, for example, to cover up imperfections on the bottom piece. Or, you can use different camera angles and cropping to crop out a less-than-beautiful piece of the steak strategically.
Taking Cooked Steak Photos
When it comes to photographing cooked steak, the steak is always the star and will easily make its presence known on camera with a few simple tricks:
Dress It Up
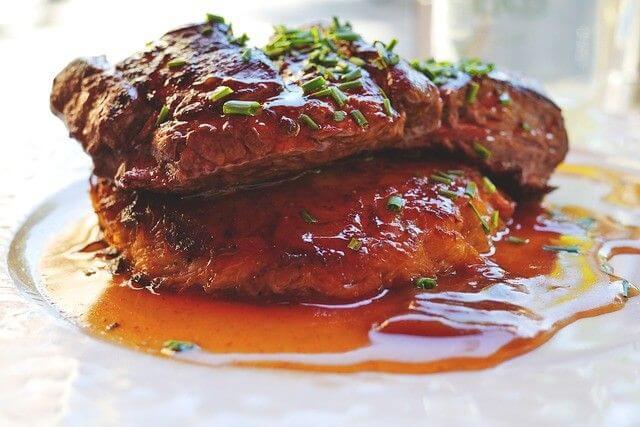
Photo by LUM3N licensed under Pixabay License
A gorgeous filet mignon is beautiful and drool-worthy on its own, but good photography begs you to kick it up a notch. Be sure to cook your steaks in a way that gives them a nice sear to make them look as enticing on-camera as they are off-camera. For filet mignon and other cuts that work nicely with extra flavor, a drizzle of garlic butter, your favorite marinade, or Chicago Steak Seasoning can give your plate the perfect pop for the camera.
Move Quickly (But Not TOO Quickly)
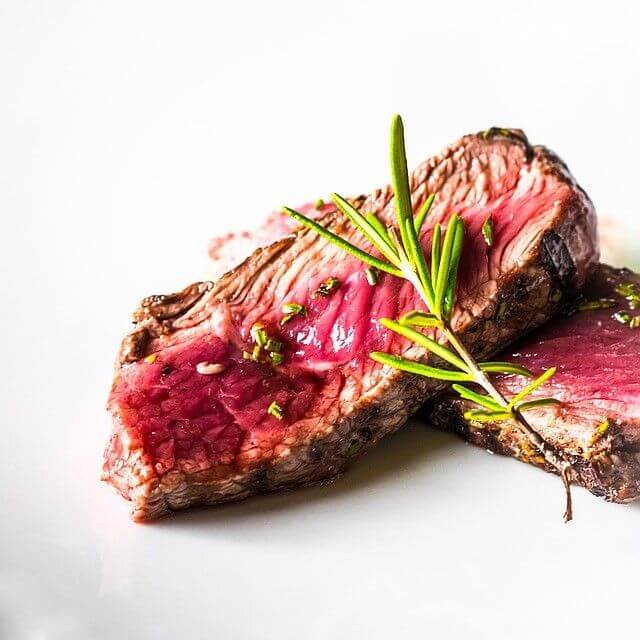
Photo by TheAndrasBarta licensed under Pixabay License
Anytime you cook steak, you should always give it a few minutes to rest before serving. The same holds true when you’re photographing steaks. Give them about five minutes to let their juices run back through the meat to let them show their texture better in the photo. This also helps the meat look its best if you’re slicing it for your photo shoot.
However, you also need to work quickly. Make sure you have everything set up for your shoot before you cook (that includes getting some test shots of the background and elements) so that you can jump right in when your steak’s done. Spending too much time messing with equipment and your plate afterward will likely leave your steaks looking dry and unappealing.
Keep the Background Simple
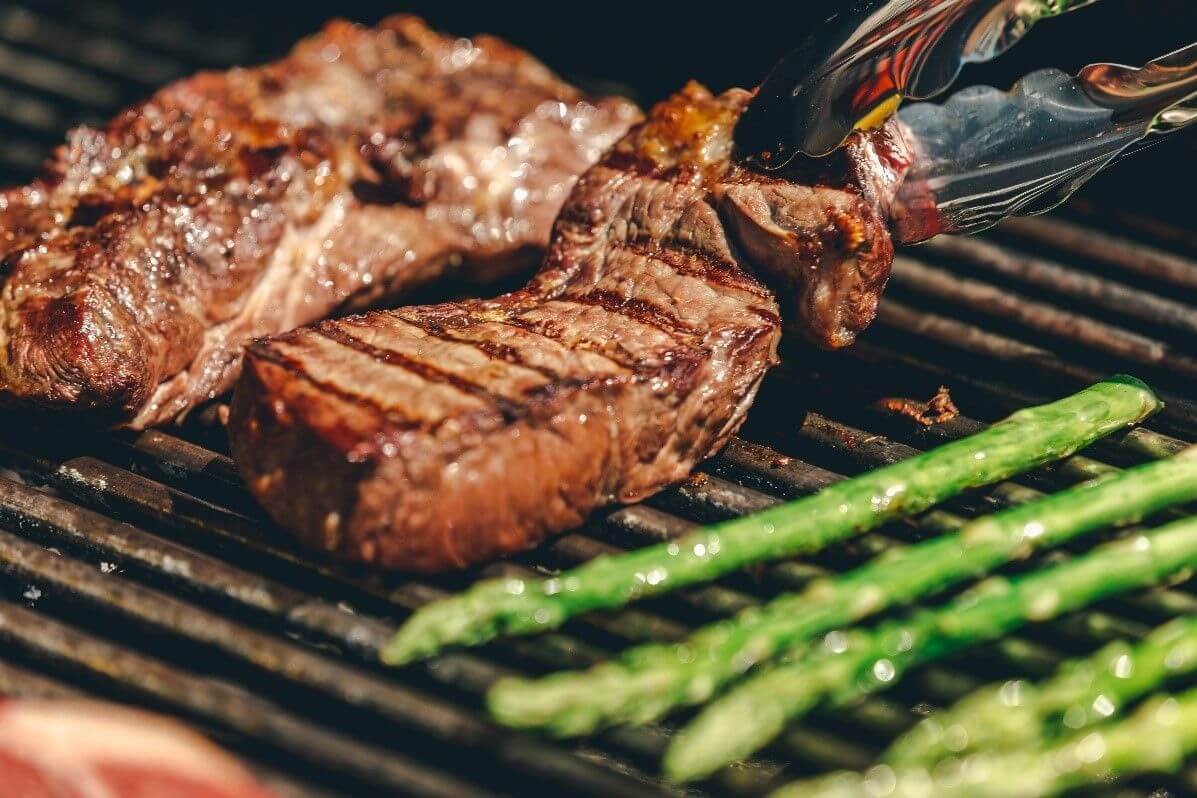
Photo by Shopify Partners licensed under Burst License
Rule #1 with food photography: The food is the star! Since you’re focusing on steaks for your shoot, you’ll want them to be the attention-grabber in your photos. Avoid putting too much other stuff on the plate that overpowers the meat. You might consider using a bright white background and a solid plate color, too, to keep your photo from looking too cluttered or busy.
Better yet, keep it as natural as possible by photographing the meat on the grill, in the pan, or on the cutting board!
Take Drool-Worthy Photos for Your Blog and Social Media
Ready to start shooting? You can place a steak order online with Chicago Steak Company today and have it delivered to your home or studio in just a few business days!
Our steaks are guaranteed to be the best of the best: Hand-selected, aged to perfection, and flash-frozen to ensure that they’re the same quality when they reach you as they were when they were in our facilities. There’s no question that our steaks are just what your steak photo shoots need. Enjoy, and happy photographing!

