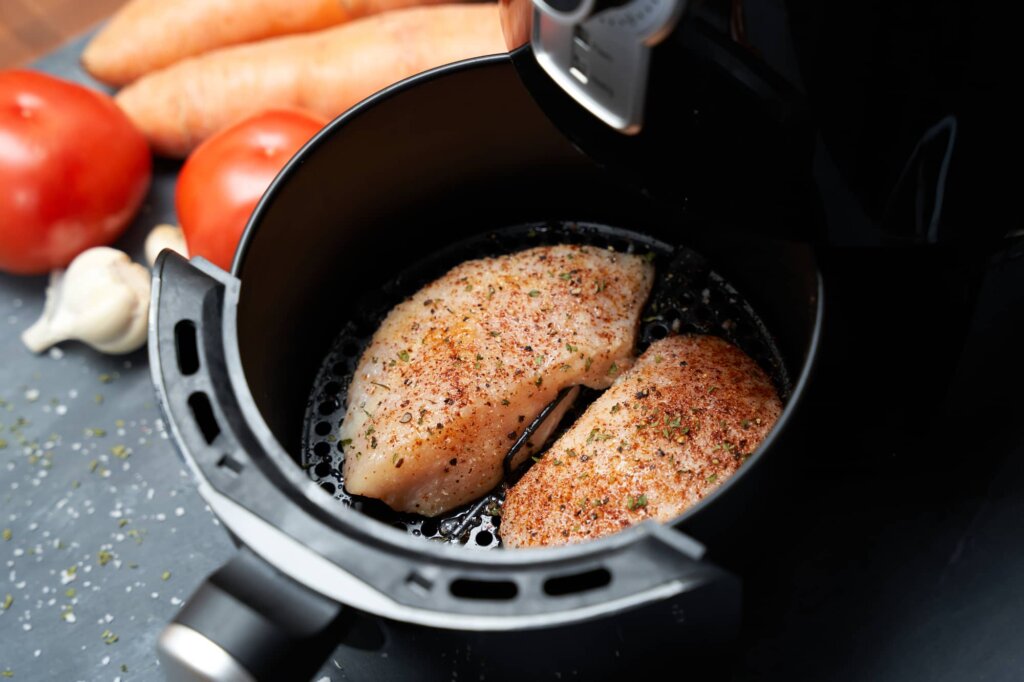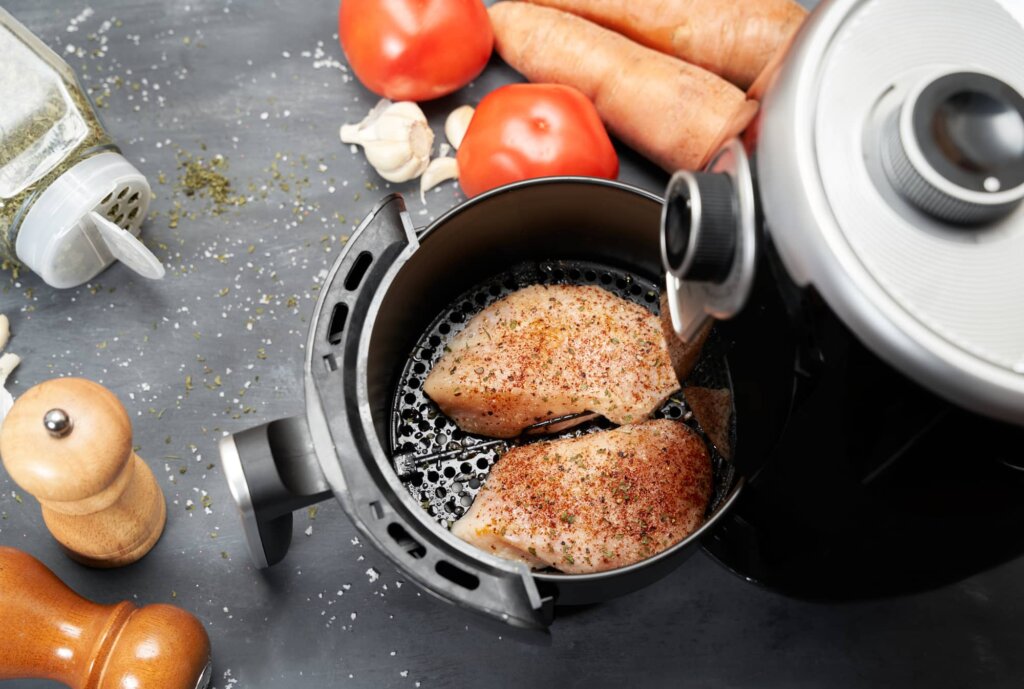
Are you looking for a way to make juicy, perfectly crisp chicken without the hassle of heating the oven and dirtying extra dishes? If so, the air fryer just might be your new favorite kitchen tool. This handy appliance delivers that golden, crispy exterior and tender, flavorful interior that makes chicken irresistible, all without the extra oil, lengthy cook times, and extra mess.
In this guide, we’ll walk you through everything you need to know to master air-fried chicken, from choosing the best cuts to seasoning tips, cooking techniques, and a mouthwatering recipe you’ll want to make on repeat.
Why Use the Air Fryer?
The air fryer has changed the game of cooking chicken, combining simplicity, taste, and healthiness in a way that old-school methods can’t always compete with. For starters, it cuts down cooking time quite a bit, as it moves hot air around the chicken for an even cook. This leaves you with a crispy outer skin much quicker than baking or grilling would. Also, unlike deep-frying chicken in oil, the air fryer needs just a tiny bit of oil—or sometimes none at all—which means you get that same satisfying crunch without piling on the fat and calories.
The air fryer does more than offer convenience and health perks. It also impacts moisture retention, which helps the chicken stay juicy instead of dry and overcooked. When you cook drumsticks, thighs, or a whole chicken, the air fryer keeps the meat tender and juicy inside while making the outside crispy. The air fryer is also versatile; you can add spices or soak your chicken in marinade before you cook it in the air fryer, just as you would prepare it for the grill or oven. Finally, you don’t need to dirty roasting pans or skillets when using an air fryer, and the air fryer itself is relatively simple to clean up after use.
What is the Best Chicken to Use?
Choosing the right cut of chicken for air frying can make a big difference in flavor, texture, and juiciness. The good news is that the air fryer is versatile enough to handle nearly any type of chicken, from tender breast meat to rich, flavorful thighs. Still, you might choose one over the other, depending on your preferences and the type of meal you’re making.
Chicken breasts are lean and cook quickly, making them convenient for a light, protein-packed meal. However, because of their low fat content, they can dry out more easily if not watched carefully when cooking. A quick brine or marinade can help lock in moisture and boost flavor, ensuring they come out juicy every time.
On the other hand, chicken thighs are naturally richer and have a higher fat content than chicken breast, which makes them ideal for air frying. The air fryer’s high heat breaks down the fat perfectly, resulting in tender, juicy meat with a crisp skin. Thighs are a bit more forgiving than breasts, so they’re a great option if you want a little wiggle room for error.
Drumsticks and wings also do well in the air fryer, delivering that classic, crispy outside with succulent meat inside. However, if you need to cook drums and wings for several people, you’ll probably need to work in batches due to the smaller size of an air fryer basket compared to a grill or oven.
Top Tips for Success
Air frying chicken is pretty easy after you’ve done it a few times, but these expert tips will help you get it right, even if it’s your first time:
- Use a light coating of oil: While the air fryer requires much less oil than traditional frying, a light spritz of oil on the chicken and on the surface of the air fryer basket can help with browning and crispiness while keeping the chicken from sticking. Olive oil or avocado oil works well here.
- Pat the chicken dry: Before seasoning, use a paper towel to pat the chicken dry. This reduces moisture on the surface to allow the chicken to crisp better in the air fryer.
- Avoid overcrowding: Give each piece of chicken enough room for the hot air to circulate properly. Overcrowding can lead to uneven cooking and soggy spots instead of a crispy, even finish. If needed, work in batches. You can keep the cooked chicken warm while cooking your other batch by placing it on a plate and tenting it with foil.
- Preheat the air fryer: This is somewhat of a contested tip in the air frying world, but we stand by it in this case. Just like an oven, a preheated air fryer allows for even cooking from the start. It’s a small step that can make a big difference in the overall texture and juiciness of your chicken.
- Flip the chicken: Halfway through cooking, flip your chicken pieces to ensure both sides crisp up nicely. This is especially important for larger cuts like thighs or breasts.
- Use a meat thermometer: To avoid undercooking, use a meat thermometer to check that the chicken reaches an internal temperature of 165°F. This ensures your chicken is safe to eat and hasn’t reached the danger zone of becoming overcooked.
Air Fryer Chicken Breast Recipe

For this recipe, we’re using chicken breast, but you can use any chicken pieces you prefer. Just be sure to adjust the times based on the chicken pieces you use. Typically, chicken breast needs more time to cook than wings and legs but may need less time than chicken thighs.
Ingredients
- 2 boneless, skinless chicken breasts
- ½ tsp of salt
- 1 tbsp olive oil
- ½ tsp black pepper
- 1 tsp garlic powder
- 1 tsp onion powder
- ½ tsp oregano
- Cooking spray
Instructions
- Cut the chicken breasts in half to make them thinner. This will help them cook evenly in the air fryer without drying out.
- Sprinkle salt on all sides of the chicken and return the chicken to the refrigerator for about 30 minutes.
- Pat the chicken dry. Rub olive oil along both sides of each piece of chicken. Mix together the black pepper, garlic powder, onion powder, and oregano, and sprinkle the mixture on both sides of the chicken pieces. Spritz a light layer of cooking spray on the chicken.
- Preheat the air fryer to 400°F for 5-10 minutes.
- Air fry the chicken for 5-10 minutes until a crisp, light brown crust forms. Reduce the temperature to 350°F and continue to cook the chicken until it reaches an internal temperature of at least 165°F (usually about 10-15 more minutes). Flip the chicken to the other side once about halfway through the cooking process.
- Rest the chicken on a clean plate tented loosely with foil for 5 minutes before serving.
Air Fryer Chicken Breast – Nutritional Facts
Per Serving (Based on a 2,000-Calorie Daily Diet)
| Nutrient | Amount (% DV) |
|---|---|
| Calories | 280 |
| Total Fat | 9g (12%) |
| Saturated Fat | 2g (10%) |
| Cholesterol | 115mg (38%) |
| Sodium | 420mg (18%) |
| Total Carbohydrate | 0g (0%) |
| Dietary Fiber | 0g (0%) |
| Sugars | 0g |
| Protein | 46g (92%) |
| Iron | 0.9mg (5%) |
| Vitamin C | 0mg (0%) |
| Calcium | 8mg (1%) |
| Potassium | 440mg (9%) |
Variations To Try
The recipe above is a basic air fryer chicken recipe to start with, but there are lots of ways to experiment with and vary it. Here are some delicious options:
- Spicy kick: Add ½ teaspoon of cayenne pepper or chili powder to the seasoning mix for a bit of heat.
- Lemon herb: Substitute the olive oil with lemon juice and add 1 teaspoon of fresh rosemary or thyme to the seasoning mix to give the chicken a fresh, citrusy flavor.
- Marinated: For extra tenderness and flavor, marinate the chicken in olive oil, lemon juice, soy sauce, and minced garlic cloves for up to four hours in the fridge before air frying.
- Italian-inspired: Add 1 teaspoon of Italian seasoning and ¼ teaspoon of red pepper flakes to the spice mix. You could even sprinkle a bit of grated Parmesan cheese on top of the chicken after cooking.
- Garlic butter: Melt a tablespoon of butter with 2 cloves of minced garlic, and brush this mixture on the chicken just before the final few minutes of cooking to give it a rich, buttery garlic flavor.
- BBQ style: Brush a light layer of your favorite BBQ sauce on the chicken for the last 5 minutes of cooking. This adds a sweet, smoky flavor and helps create a sticky, caramelized coating.
- Herb-crusted: Mix dried basil, thyme, and a touch of paprika with panko breadcrumbs and coat the chicken before air frying for a crunchy, flavorful crust.
What to Serve with Air Fryer Chicken

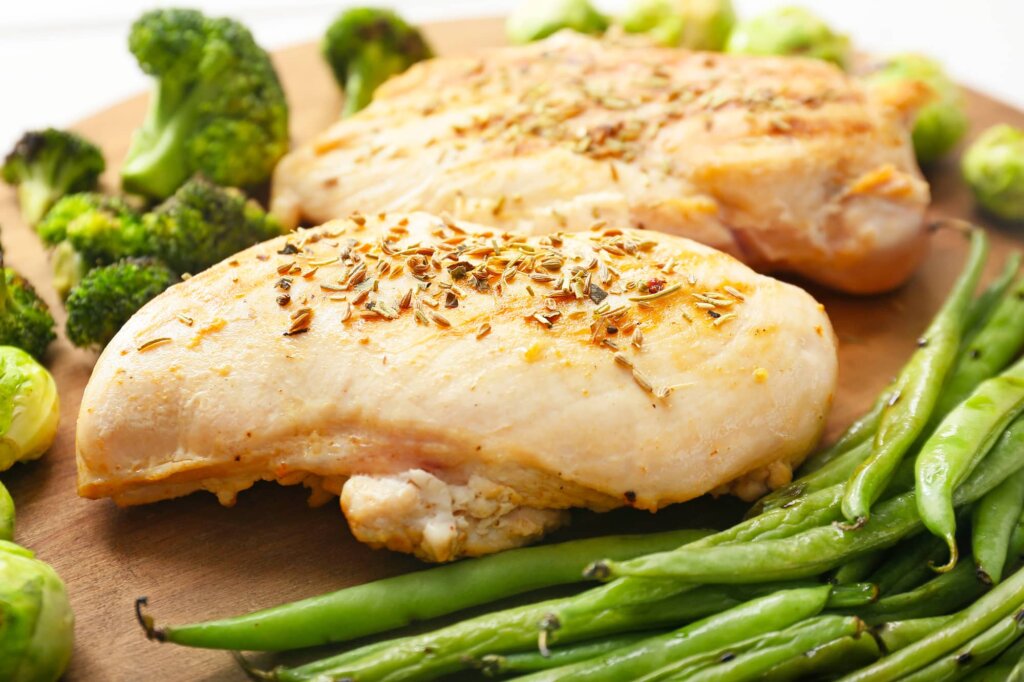
Chicken is one of the most versatile proteins to add to your dinner plate, and air frying it doesn’t impact its versatility at all. Air-fried chicken pairs well with numerous sides, but roasted vegetables are a tried-and-true favorite — and you can make them right in your air fryer while your chicken rests. Try air-frying green beans, Brussels sprouts, or broccoli alongside the chicken at a slightly lower temperature to create a balanced plate. Simply toss the vegetables with olive oil, salt, and pepper, and roast until tender with a slight char.
For a more savory, filling side, consider making mashed potatoes or a creamy risotto. Garlic mashed potatoes are a top choice, but if you’re looking for a lighter option, try cauliflower mash, which offers a similar texture but fewer carbs. Risotto can also be used as a savory base to top with your chicken.
Or, go a little lighter with a simple mixed greens salad and a light vinaigrette dressing. Add sliced cucumbers, cherry tomatoes, and a feta cheese crumble to add texture and additional flavor.
Conclusion
Mastering air fryer chicken opens up endless possibilities for a quick, delicious meal that’s perfectly tender every time. With a few seasoning twists and side options, this versatile dish fits any occasion. So go ahead, experiment with flavors, and enjoy a satisfying, savory meal that’s as easy as it is flavorful, right in the comfort of your kitchen.

Air Fryer Chicken Breast
Ingredients
- 2 boneless skinless chicken breasts
- ½ tsp of salt
- 1 tbsp olive oil
- ½ tsp black pepper
- 1 tsp garlic powder
- 1 tsp onion powder
- ½ tsp oregano
- Cooking spray
Instructions
- Cut the chicken breasts in half to make them thinner. This will help them cook evenly in the air fryer without drying out.
- Sprinkle salt on all sides of the chicken and return the chicken to the refrigerator for about 30 minutes.
- Pat the chicken dry. Rub olive oil along both sides of each piece of chicken. Mix together the black pepper, garlic powder, onion powder, and oregano, and sprinkle the mixture on both sides of the chicken pieces. Spritz a light layer of cooking spray on the chicken.
- Preheat the air fryer to 400°F for 5-10 minutes.
- Air fry the chicken for 5-10 minutes until a crisp, light brown crust forms. Reduce the temperature to 350°F and continue to cook the chicken until it reaches an internal temperature of at least 165°F (usually about 10-15 more minutes). Flip the chicken to the other side once about halfway through the cooking process.
- Rest the chicken on a clean plate tented loosely with foil for 5 minutes before serving.

